Pi-hole is an open-source DNS intercepting and blocking server that runs on Linux. With this feature, you can block a whole range or ads or block any domain you want. You can use a pi-hole installation to block ads throughout your network by configuring every device to use it as a DNS server. It also provides a dashboard where you can view analytics on the usage of pi-hole. For detailed analysis, you can also check the query log. The best thing is, you control all of it, hardware and software. So you can configure it as you want. Block Facebook for family gatherings, you can do it with a few clicks, block inappropriate websites? add a list for that. Adblocking the whole network speeds up sites, apps, streaming, and gaming, so everybody is happy. If it made you and your family happy, consider donating.
Other alternatives to adblock like Adblock extensions, Adblock DNS, and adblocking VPNs take a lot of resources. You have to install Adblock extensions on every browser, Adblock DNS monitor your DNS queries, connecting to VPN to block ads already lowers your internet speed. Moreover, while running a Pi-hole on a machine does require a system to run 24/7, you can run it on a raspberry pi which consumes very less resource and power, which in return saves many headaches. Once you set up your router to provide everyone on the network the IP of your Pi-hole, you get content only Internet, without Ads.
As a test, I decide to install Pi-hole on my Linux Mint machine to try it out. Having an Adblock mechanism on each device can be stressful. Moreover, pi-hole is very easy to install and configure. I was up and running within 10 minutes with other device configured to use it as a DNS server.
Pre-requisites:
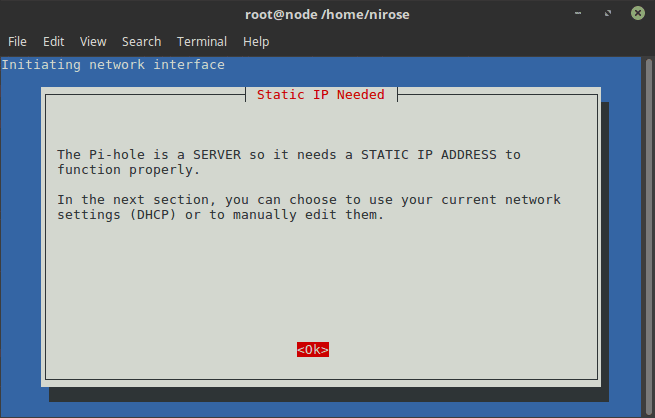
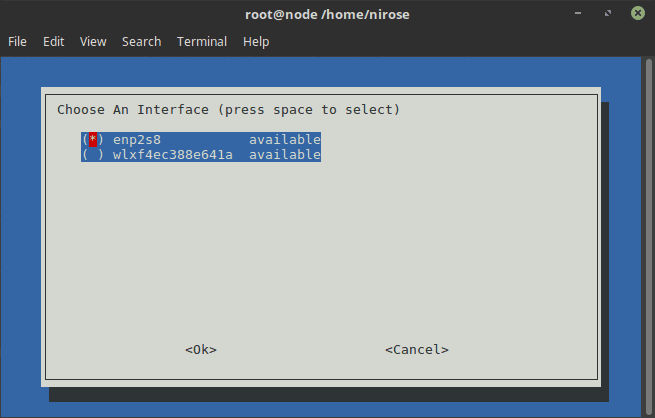
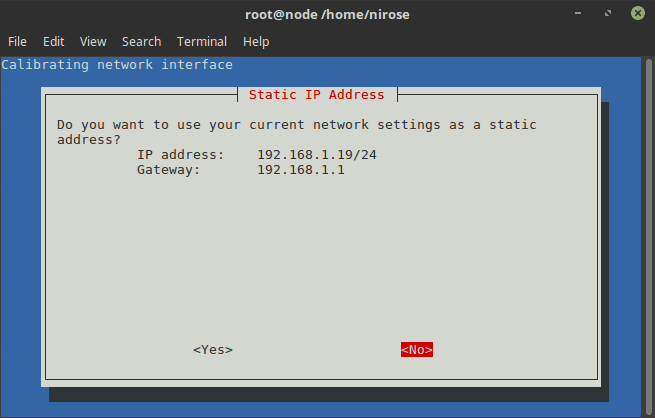
- A mac-binding IP to your machine running Pi-hole. If you don’t bind a static IP, you’ll have a problem to find the pi-hole server every time your router restarts. Once an IP is bound to a MAC address, it takes the same IP on every router restart. (Check your router settings for this configuration)
- A system running Linux (e.g. Ubuntu, Linux Mint)
- Debian Linux Terminal basics.
- Internet Connection to download installation script from pi-hole site
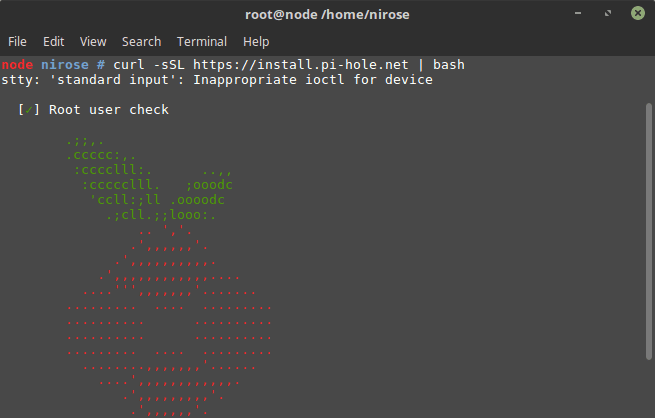
The first thing is you have to run a terminal with superuser. Open a terminal and login as sudo
sudo su
Then run:
curl –sSL https://install.pi-hole.net | bash
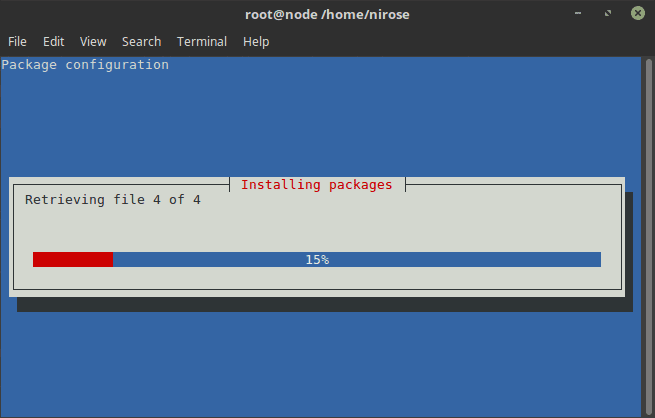
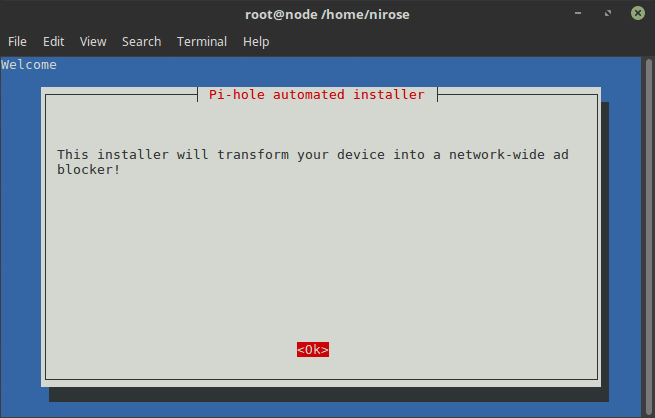
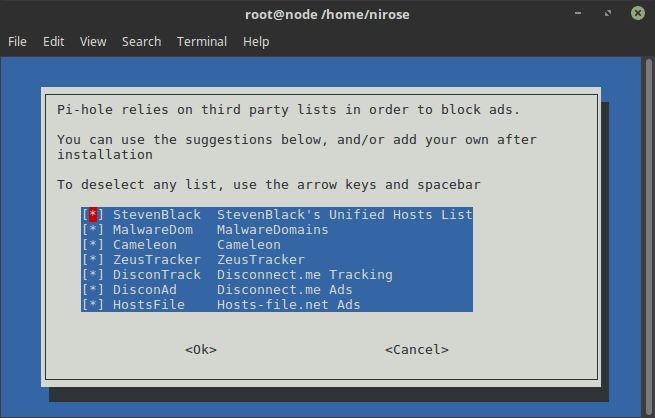
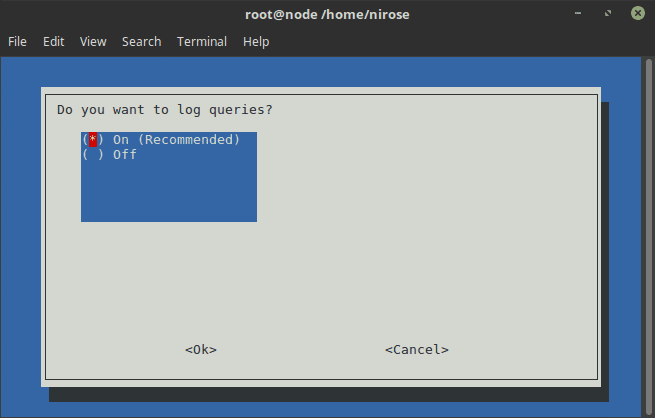
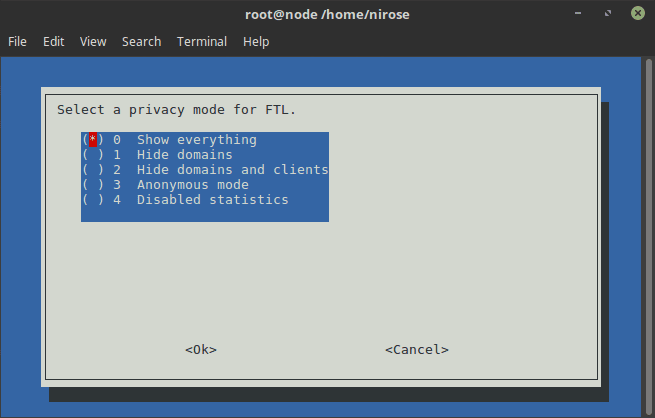
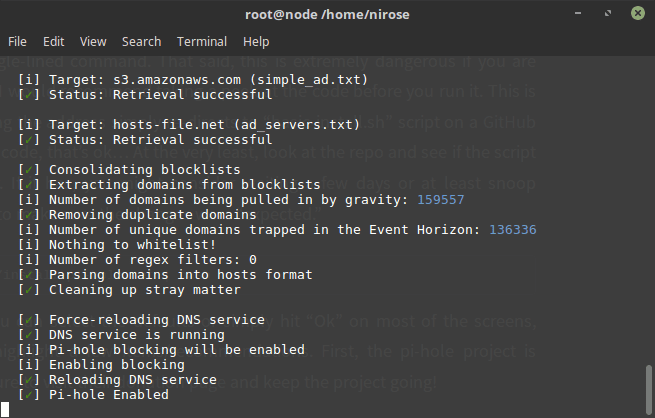
This connects to the pi-hole website and downloads the installation script and starts the configuration wizard.


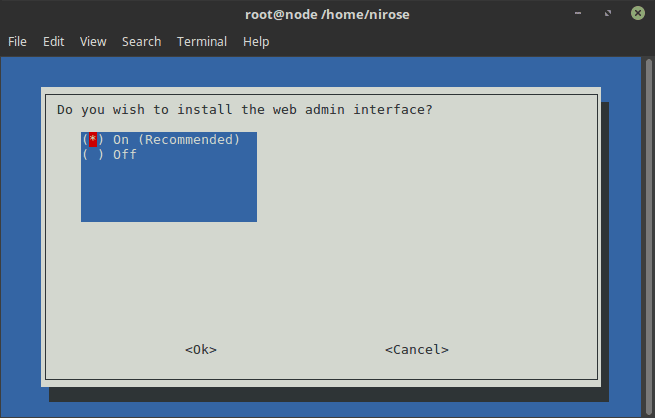
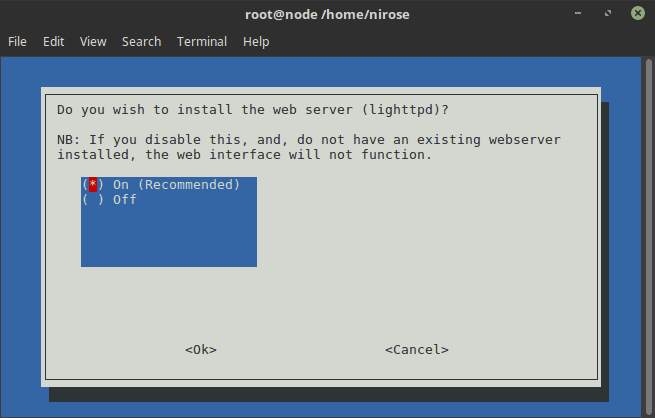

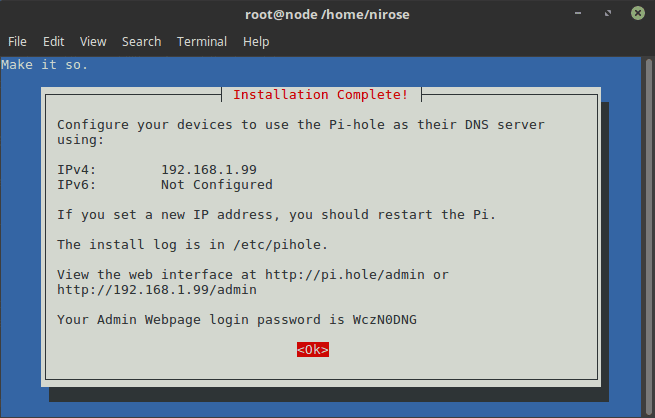
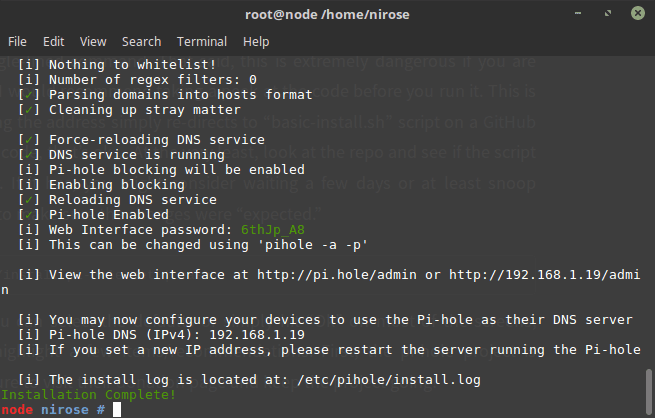
After completion, wait a while and then log into the pihole admin panel. The pihole service will create a DNS entry for (http://pi.hole) which you can open on your browser. For additional statistics, and logs, you’have to log in to the admin panel at http://pi.hole/admin/ where you will use the password generated in the last step of the wizard.

The interface is self explanatory, and easy to use. The query log displays all the queries going though the pi-hole server. The buttons on the right are easily used to set the domain as a blacklist or whitelist. You can use exact domain names, wildcard, and regex to add entries on both whitelist and blacklist. The tool option allows you to control your Pi-hole server and also restart your system.
To enable pihole server, run:pihole enable
If you ever need to repair your pihole installation, you can run it’s repair/reconfigure wizard by running:pihole -r
To check the status of pihole, run:pihole status
To restart pihole DNS server, run:pihole restartdns
Uninstall Pi-Hole
Uninstalling Pi-Hole is quite straight forward. You will, however, have to remove Pi-Hole as a default DNS from every device which was using it before. After you run the uninstall command, it should remove its packages, settings and restore DNS on the Raspberry Pi to its default.
To uninstall pihole completely, run:pihole uninstall
Let us know what you think in the comments below.


