Changing DNS on Android is simple if you know how to do it. On Windows, you can just set your DNS, and the DHCP server handles your IP address. On Android, however, you need to configure every part of your IP to use a different DNS server on Wi-Fi settings. You also need a third party application to change your DNS when you are using mobile data. As you connect directly to your network provider, you have no control or configuration to change on your Android devices. So here’s a short on how you can change your DNS settings with a click of a button.
For Mobile Data and Wi-Fi:
For configuring a different DNS address for your mobile data, you have to create a local VPN on your device. You can accomplish this by using apps like Blokada and Adguard. As VPNs are allowed to have their own DNS server configuration, you can opt to change the DNS when you are using mobile data.

For Blokada:
- Open up Blokada
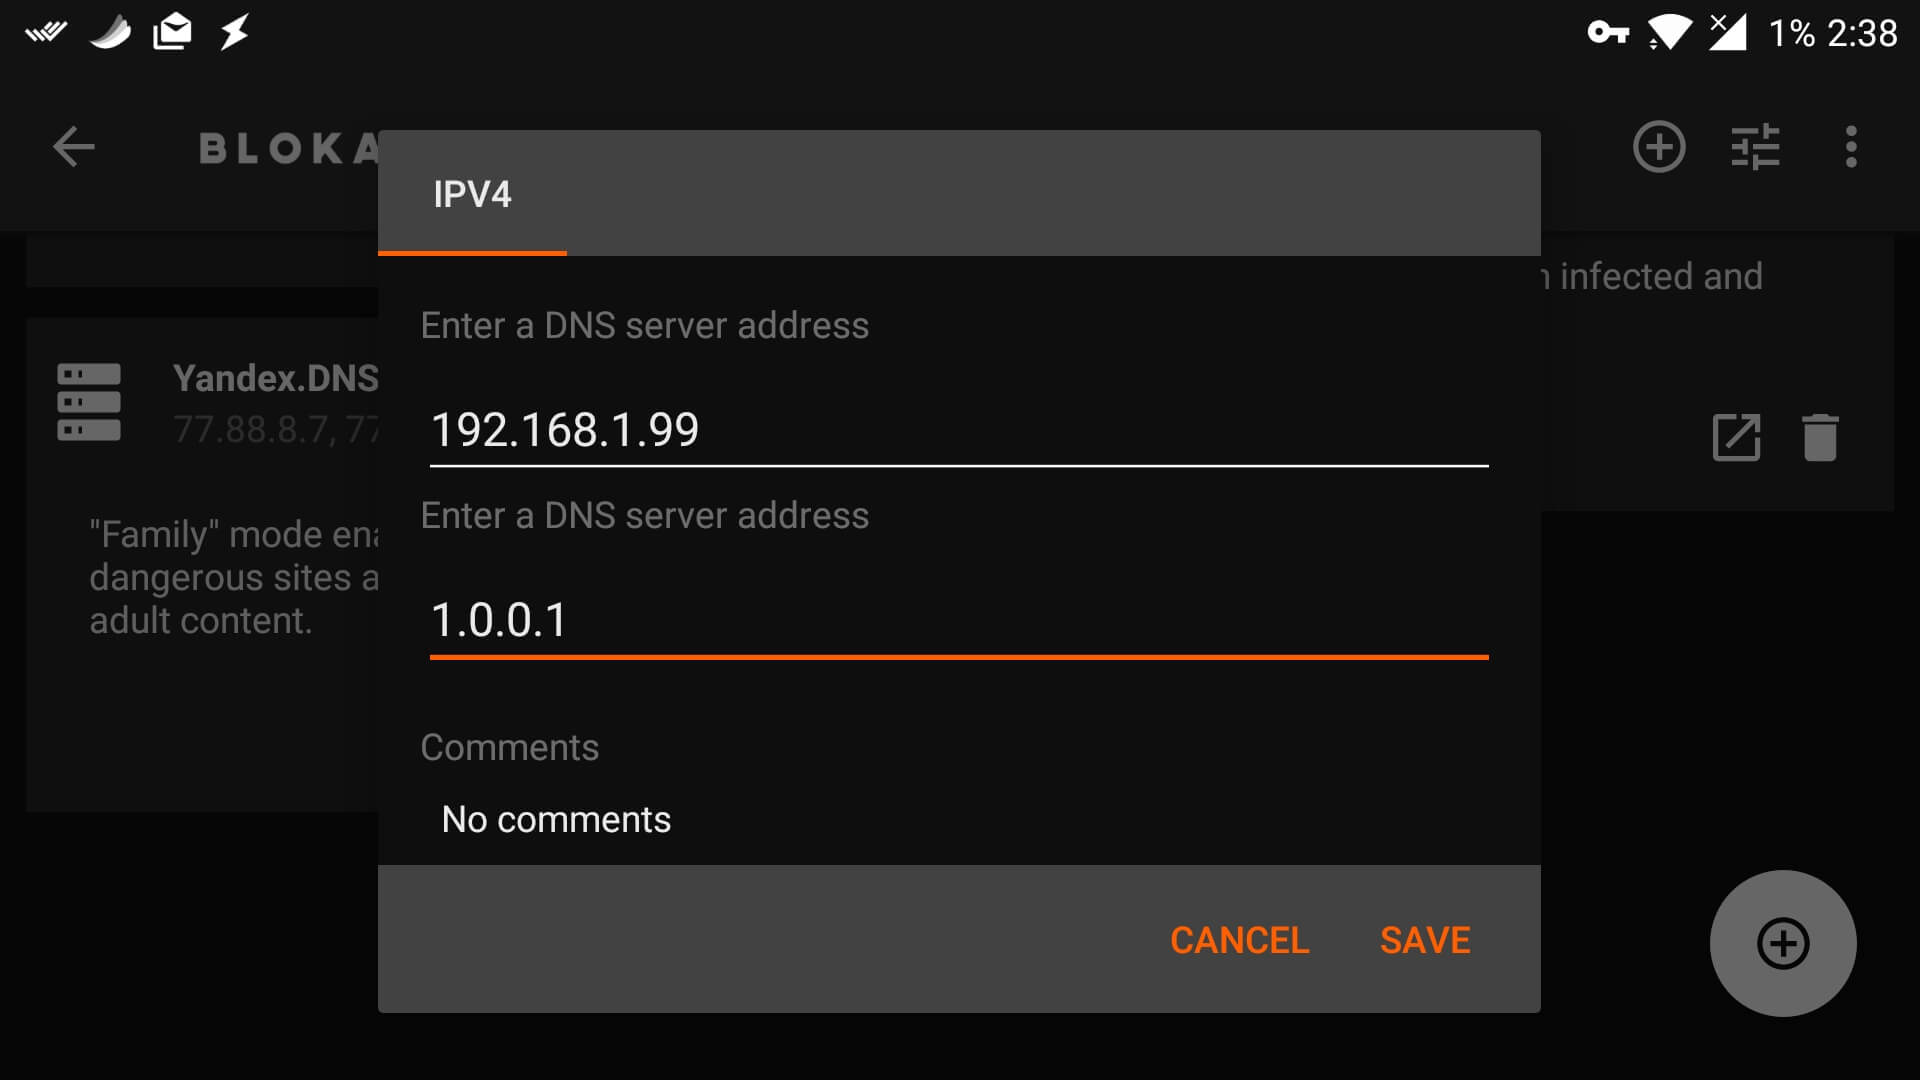
- Tap the DNS section
- Choose a pre-listed DNS or add your own server with the ‘+’ floating bar
- Turn on the Blokada VPN
Now you’re set to use a custom DNS server with your data package. Additionally, you can block all the ads and trackers with blokada which will save your data as well.
The method of using Blokada to change DNS server works for Wi-Fi as well, but you need an additional app running at all times which uses your battery. Changing Android settings does need some configuration on your end and additional steps than using a local VPN app like blokada but has less impact on battery. Blokada is free and open-source, so you can choose whatever method fits your needs.
Changing DNS for Wi-Fi with Android Settings
There are numerous tutorials on this so I’ll keep this short. You have to
- Go to your Wi-Fi network list. (Take a note of your gateway IP. g. 192.168.0.1 or 192.168.1.1)
- Tap and hold the Wi-Fi network you are connected to
- Choose “Modify ”
- On the pop-up window, tap on “Advanced Options” drop-down
- Under “IP Settings”, choose “Static” instead of DHCP.
- Based on your gateway IP, configure your device to use any IP in the range of 2-254. g., if the gateway IP is 192.168.1.1, you can set it anyone number from 192.168.1.2 – 192.168.1.254
- Set the network subnet to 24, which reflects the allowed number of devices on the network
- And then change the DNS to the one you want.


