Cloudberry Remote assistant is a new and upcoming remote desktop application similar to Teamviewer with focus on providing remote support. While it isn’t quite as polished as Teamviewer, it has unique features for security and convenience. It is considerably new and competition will always benefit the consumers in the long term. It is completely free and is currently available for download from their website. While it is similar to most remote desktop connection applications and the workflow is similar to Teamviewer, here’s what I thought it was different.
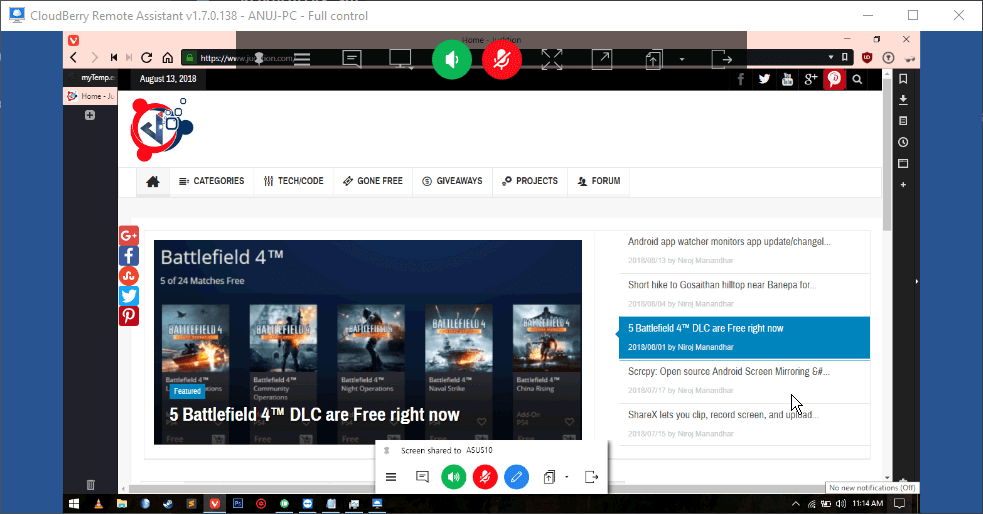
Cloudberry Remote Desktop session has much of the same features from other similar applications. The two chat, audio controls, monitor switch and file transfers are available for collaboration. There’s also overlay for both parties to disconnect with a button.
The Good
Let’s start with the good features from Cloudberry Remote Desktop.
1. Two step confirmation
Cloudberry Remote Assistant requires two-step authentication for remote desktop session to start. Even when you have the PIN provided for the remote computer, the client on the other side has to accept the connection to initiate a remote desktop connection. Unlike Teamviewer, you cannot just use the provided PIN to login without any interaction by the client. This definitely increases security, but you can’t always expect the client to know what they are doing or be available if you are connecting to your own computer.
You’ll also like: How to Prevent teamviewer running in background
2. Encryption
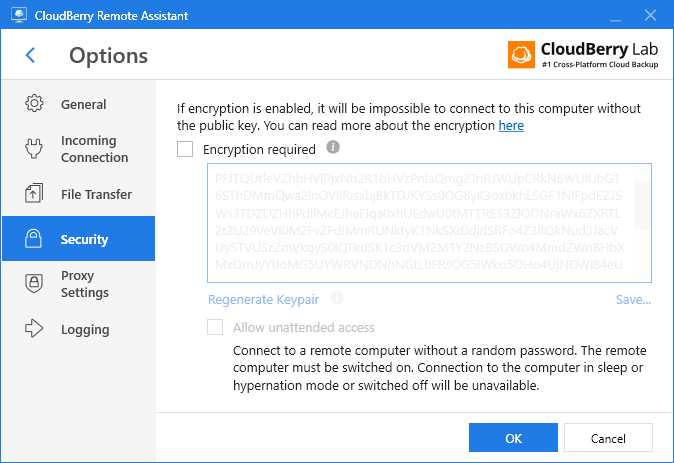
Cloudberry allows users to use public keys to connect to remote desktops. This encryption makes it theoretically impossible for unauthorized access of the remote desktop. The client with the public key will only be able to access the remote desktop session followed with the Windows user login or a PIN. This security feature allows completely private connections.
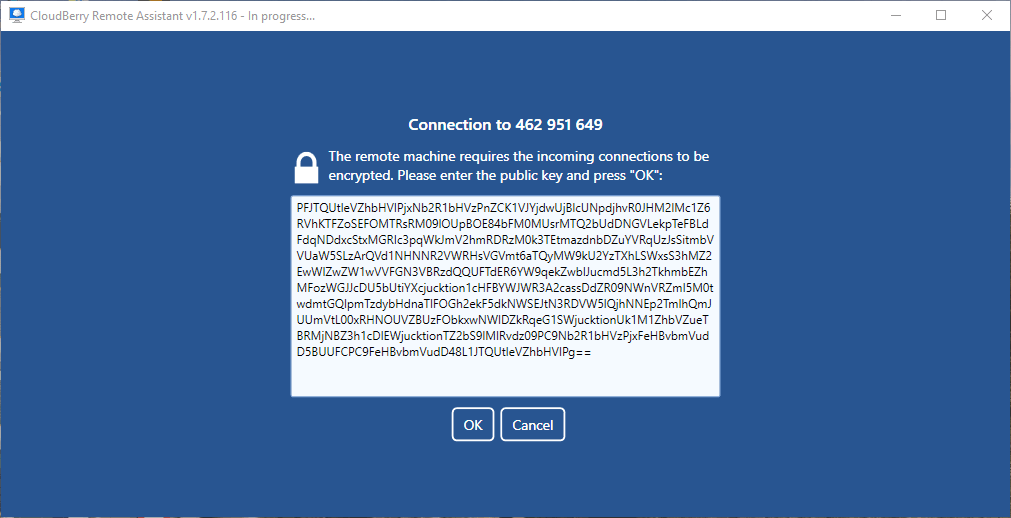
Someone who wants to connect to a client that has encryption enabled will have to input the public key to access the secondary login screen.
3. Session exit control
In an unattended remote assistance session, when you disconnect, you can choose a few options to set the state of the remote desktop. You can either choose to log the user off, lock the screen or leave the session open where the remote screen continues as it is. This helps with the work scenario you are in. Some automated testing applications like AutoHotKey can not operate some of their tasks like grab Window titles so they cannot manipulate applications. In this case you have to leave the session open so the screen isn’t locked.

However, this can lead someone physically near the remote PC to easily access the remote device as it isn’t locked. It is mostly used in virtual server scenarios where there isn’t any visible screens for access.
4. Invitations
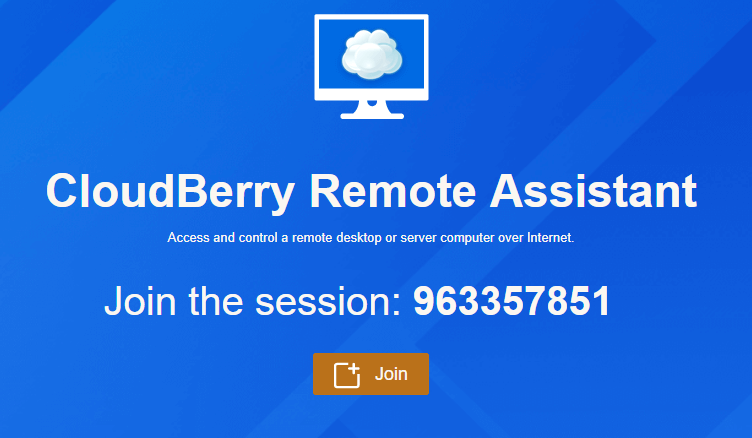
Users can send invitations in links to request someone to join a session. A session can be to either view/control their desktop remotely or asking permission to view your desktop. A cloudberrylab connect link is generated and sent to the user. You will have to use secure means to share this link as using invitation doesn’t need PIN to login. There’s a prompt on the application that generated the link. Once the user approves the connection, the viewer can view or control the desktop.

Users can set validity period of the link in minutes, hours and days after which they will stop working. The invitation links opens up a browser where you can click a button to launch the Cloudberry Remote Assistant.
When the application starts up, you will get a small window to let them login to your computer or if you want to login to their computer. Never gets less confusing, does it?

The Debatable
1. Too many steps by default
While two way confirmation makes it more secure, it definitely isn’t suitable for the less technically knowledgeable people. While they might not be their target demographic but this may lead to significantly less adoption. Also on the remote client you have to manually set “view only” or “full control” on every connection request. You can also turn off the need to be prompted for every connection in the settings.
It could be the other way around where someone could download an application and send PIN to let someone easily access their computer for technical support. And the people with the need for extra security can turn these options for a more secured installation.
Here are the steps to a regular Cloudberry Remote Assistant connection with default settings:
a. A computer initiates a connection to a remote desktop client. The screen on the initiator is stuck on “waiting for confirmation”.

b. The client will have to confirm the connection to allow the initiator to continue with the authentication process.

c. The initiator now again has to enter the PIN provided by the client to finally see the desktop from the remote device.

2. Email activation and Ads
The application is currently free and requires you to submit your email to get an activation key to use the software on Windows. The installed software also has ads for other products from Cloudberry and their partners. Considering it’s a free software it is understandable to use some way to recuperate the work that has gone into building the software.
3. Windows only
Cloudberry Remote Assistant is currently only available on Windows PC, so there’s no easy way for users on Linux or Mac to provide support to users on Windows System or vice versa. We hope native applications are built for other operating system for it to be broadly accepted.
The Bad
1. Connection mode separation (not really)
On Cloudberry Remote Assistant, Server and client mode are set as different options. “Control remote computer” and “Allow remote control” are two connections modes. You have to use the options menu to use their separate interface. Someone can still connect to the application when “control remote computer” mode is on. But there’s no way you can see the PIN to let someone connect, you’ll need to switch back to “allow remote control mode” to see your PIN. If users want to disable incoming connections, they have to manually check an option to disable incoming connections. So what does this separation actually accomplish? We do not know.
Last Thoughts
I think we’ve covered most of the current features. I think at its current state it is currently more focused on technical crowd and support groups who consider security their main priority. Using this as a way to help your grand parents isn’t going to be easy. The defaults on the remote assistant application are set to be complicated for less technical people.
All in all the quality of the remote session is stable and doesn’t act-up randomly. There’s not constant subscription pop up and you can use this commercially or personally without having to worry about licenses. So if you are looking for a Teamviewer alternative with a little more security options, you should give it a try and let us know how it goes.
[review]


